Hey, welcome.
This is a concept build that uses Pathfinder to fight with Toxic Rain.
It's a pretty special build, but you can take a look if you want.
___________________________________Attention!_______________________________________ This build is not recommended for startup.
Please secure a lot of Divine, and then play with your 2nd character. ____________________________________________________________________________________
Pro ・Life Flask with excellent sustain(Recovery high enough to withstand Shaper beam)
・Well-balanced, high durability
・Access to many End Game(All Uber Bosses can be challenged)
・Resistance to more MAPMODs
Con ・Almost all recovery depends on Life Flask, You must constantly monitor the Life bar
・Vulnerable to mods that make Flask extremely weak
・Dot build, so it takes time to defeat the enemy
・High load, ground invisible
・The amount of manipulation is large and difficult. And it is busy
・Maximum DPS cannot be achieved without proper understanding of the build.
Synergy
"
The following three are the core of this build
To ensure very high resilience in Pathfinder, Flask needs to be strengthened. However, it has the problem of reaching Full Life too quickly.
To solve this problem, I came up with a synergy that utilizes all three.
The effects of the core items required for synergy are as follows.
・Elegant Hubris(Cadiro) - Supreme Decadence
Life Recovery from Flasks also applies to Energy Shield
Although this keystone appears to be a useful effect, it has the following problems. The Life Flask recovery is applied to the ES, but if it goes to Full Life, the Flask stops working.
If the amount of ES lost is more than Life, ES cannot recover to the maximum. Therefore, to take full advantage of the effect, the value of Life lost and ES must be equal.
・Replica Soul Tether - Corrupted Soul
50% of Non-Chaos Damage taken bypasses Energy Shield
Gain 15% of Maximum Life as Extra Maximum Energy Shield
By equipping this belt, you first gain more ES. Then, Life and ES will equalize the damage received.
This ensures that Supreme Decadence always provides maximum performance.
・Petrified Blood
Your life cannot be raised above low life other than by flasks
Petrified Blood increases the Hit Pool and disables all recovery except Life Flask. This stabilizes the synergy between Supreme Decadence and Corrupted Soul. The combination of the three increases recovery without reducing the time to reach Full Life.
Let me explain how Toxic Rain does its damage.
First, it should be clear that Toxic Rain Dps that can be seen in the POB can almost always be considered Fake.
This is largely due to the characteristics of Skill.
Damage
"
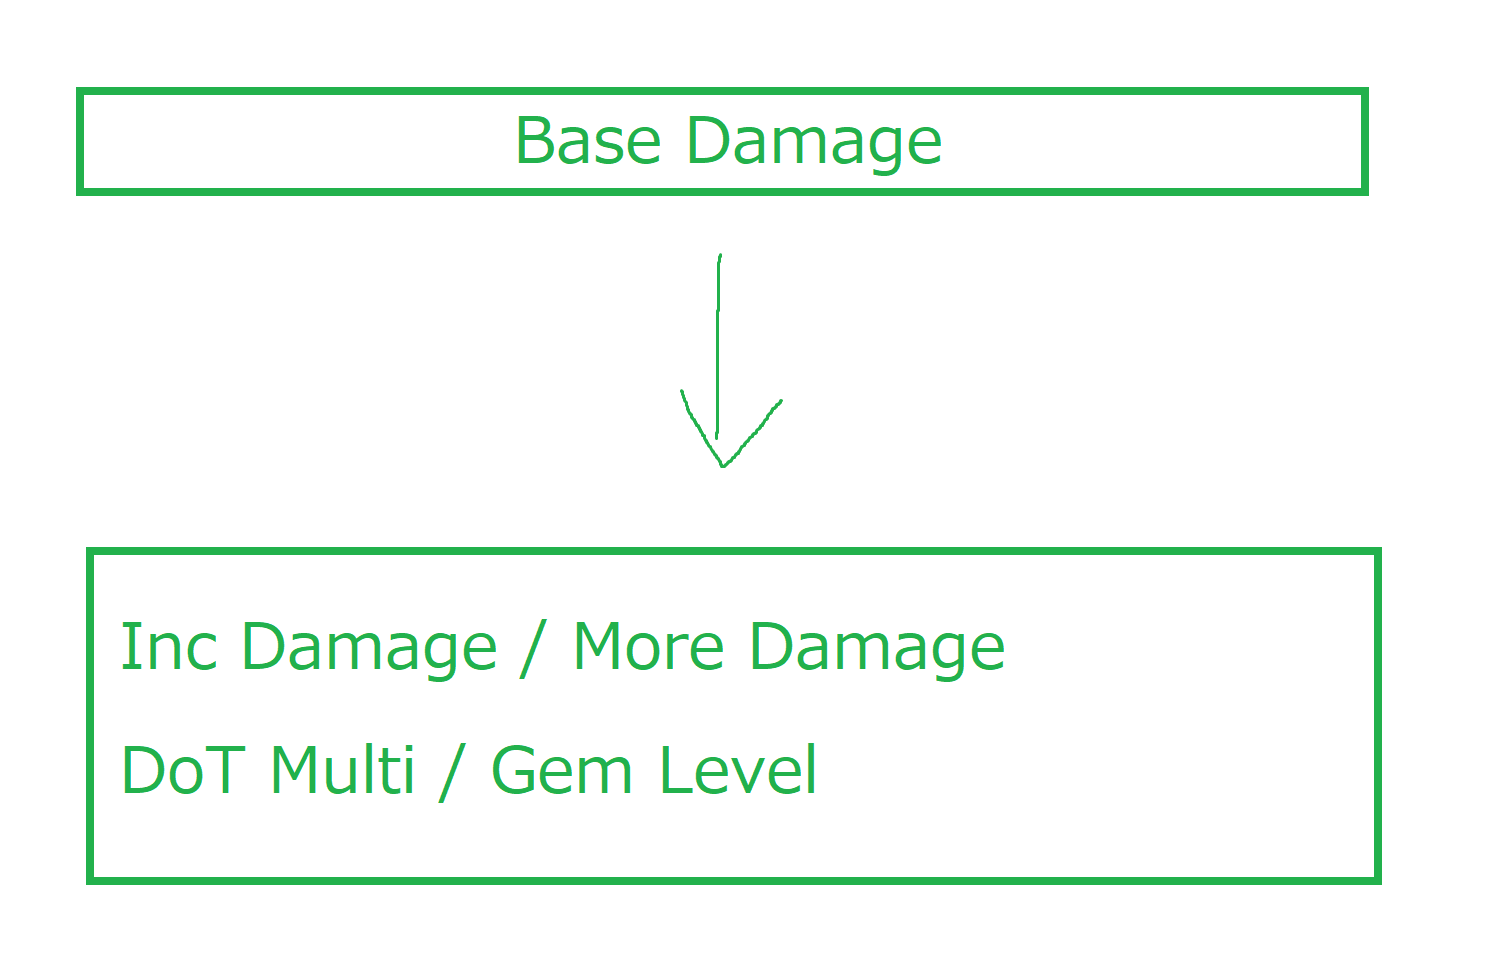
It is most efficient to extend the damage first.
Inc Damage/More Damage/Dot Multi/Gem Level
Ensure a good balance of these to increase DPS.
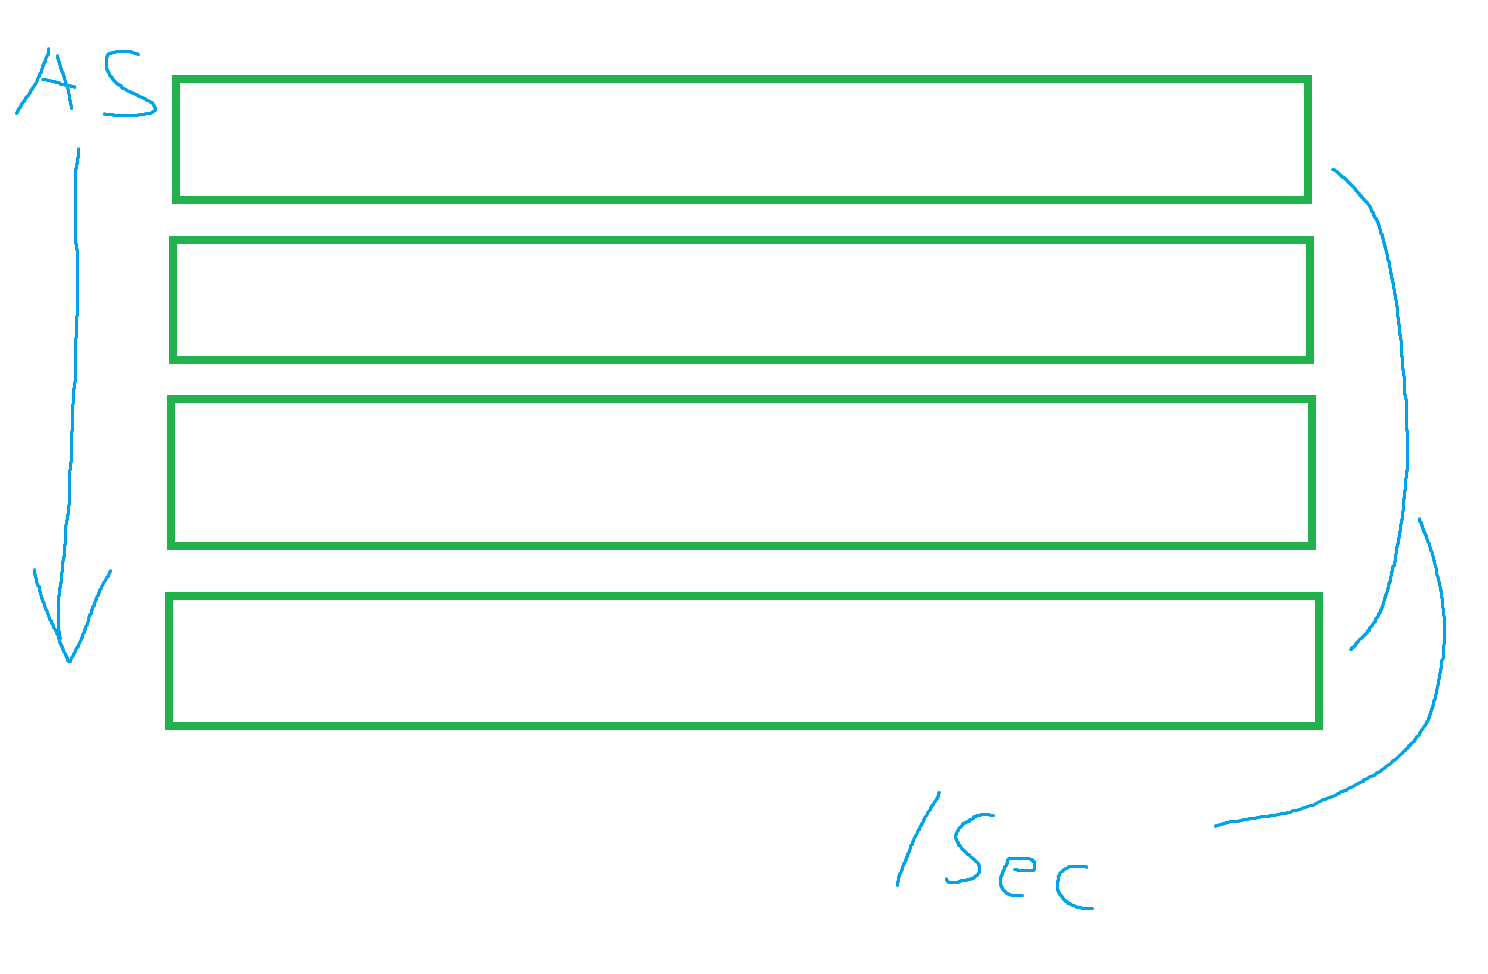
Attack Speed
"
AS can increase DPS, but it is a less valuable resource if you are doing or have to do HIT and Run.
If you want to achieve maximum DPS, you will have to endure long face tanks.
Duration
"
Duration Inc increases DPS the most. But what you see is Fake.
Increasing the duration increases DPS, but this requires keeping the enemy on the POD for that number of seconds, which is very difficult to do.
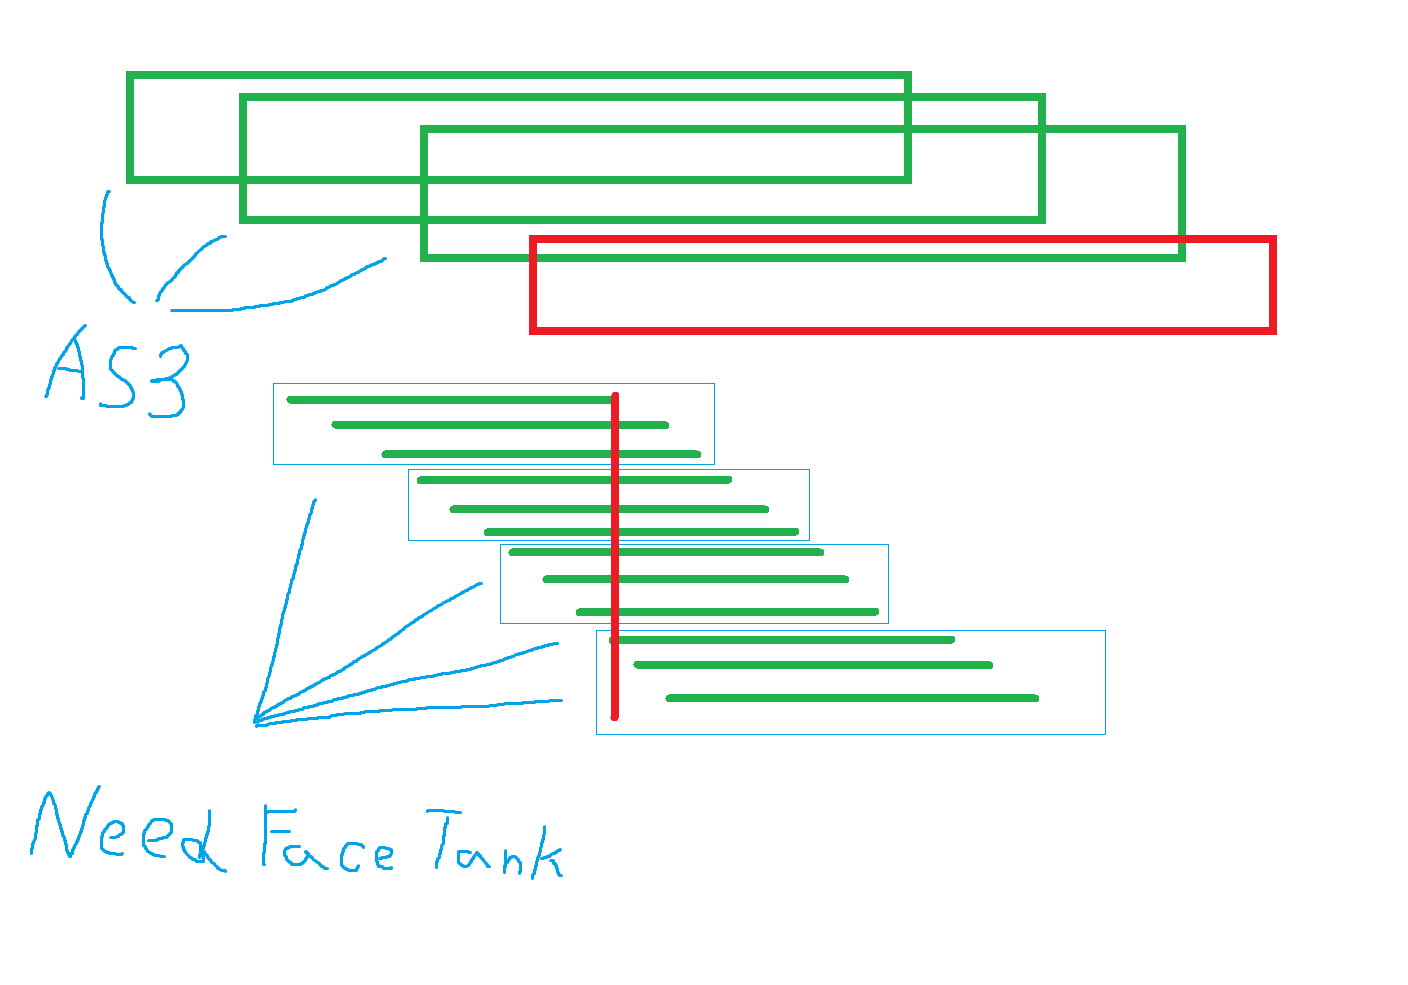
Combination DPS
"
For example, assume AS is 3 and Duration is 3 Sec.
In this case, it is necessary to attack [continuously for 3 seconds] in order to produce the same amount of damage as a POB, and then continue from there.
Of course, this action is based on the premise of FaceTank or evasion with minimal movement.
If the durability is low, the DPS will decrease because less time is available to attack. ※The area after the red color in the figure below is the range where the maximum DPS can be achieved.
Before that, the DPS is very low because of the preparation stage.
Considering the preparation phase, it is quite difficult for this skill to produce 100% DPS as indicated in the POB.
Also, Amulet such as Ashes of the Stars may appear to have higher DPS on the POB, but in fact it does not; the increase in DPS is due to the increased time of Toxic Rain, which only increases preparation time.
Therefore, a simple DPS increase like Replica Dragonfang's Flight is more effective.
Build
Spoiler
Flask
Spoiler
Life Flask
"
A minimum of 26% of T1 is required for Preffix.
Combined with Passive Tree's 10% Reduced, Charge usage becomes 9 and can be used 5 times.
Once the setup is in place,Life Flasks will gain 9 Charges every 3 seconds.
Other Flask?
"
With this kind of Flask construction, a single Flask frame can be used freely.
Note, however, that the Suffix MOD of [Of The Rainbow (x% additional Elemental Resistances during Effect)] cannot be employed in this case.
Above are candidates for Flasks that can be added.
Unique & Rare Item
Spoiler
Widowhail & Hunter Rare Quiver
"
Greatly increases the status of Quiver.Prepare a 250% item.
Equip yourself with a powerful Quiver that increases DPS.
+ Life and acquire as many of the following mods as possible
・+x% to Chaos Damage over Time Multiplier with Attack Skills
・+x% to Damage over Time Multiplier with Attack Skills
・x% increased Damage with Bow Skills
Finally, it would be great if a Movement Speed mod could be added.
Doppelganger Guise or Lightning Coil
"
It provides a very high Less Damage Taken.Choose one with a LESS DAMAGE Taken close to 40%.
There is also a lightning Coil as a budget gear. It is powerful, but be aware that Lightning Resistance is greatly negated.
Aim for +Gem lvl modifier with Corrupted.
Replica Doragonfang's Flight
"
It is a very good Amulet that offers all the necessary status.
The Balance of Terror
"
Wither on hit buffs can be earned.
BoT with 2 mods is too expensive, so 1 mod is fine.
Melding of the Flash
"
You can raise the maximum value of elemental Resistance at the same time.
Get as good a product as possible.
The Light of Meaning & Unnatural
"
Using the two at the same time greatly increases the damage.
Forbidden Flame/Flesh
"
It will be possible to install up to three Mirage Archers.
This will greatly increase the DPS of the build.
Replica Soul Tether
"
Extra ES & Corrupted Soul.
More funds are needed, but the implicits can be changed in Vaal.
Elegant Hubris
"
With the name [Cadiro].Find something to get [Eternal Resilience] for 1 point.
Watcher's Eye
"
High - mana cost, you get DoT Multi equivalent to 3 Rare jewels.
Rare Jewel
"
①Inc Life
②AS with Bow/Dot Multi
③Maximum lightning Resistance
Get a Jewel that has all three.
Cluster Jewel
"
A small amount of status can be added to the Samall Node, so use it to adjust Chaos Resi, etc.
Helmet
"
・EATER OF WORLDS IMPLICITS
#% of Physical Damage from Hits taken as [Cold],[Fire],[Lightning] Damage ・SEARING EXARCH IMPLICITS
+2% to Maximum Lightning Resistance
You need to complete the suffix and then add +2 Aoe in crafting Veiled chaos.
Can be created with either Evasion + Armour or Energy Shield Base.
EV/AR Base is intended to reduce damage of low Physical type.
Granite Flask can also be employed to make it more resistant to Split Damage and high Attack Rate Physicals.
Glove
"
・EATER OF WORLDS IMPLICITS
[+x% chance to Suppress Spell Damage] or [Attacks have #% chance to Maim on Hit] ・SEARING EXARCH IMPLICITS
+x% to Chaos Damage over Time Multiplier
If you adopt Suppress Implicit, you can save Tatoo.
Boot
"
・EATER OF WORLDS IMPLICITS
x% Chance to Avoid Elemental Ailments ・SEARING EXARCH IMPLICITS
x% Increased Action Speed
Shock/Chill and Freeze are immune by adding implicit Avoid Eilment.
Gem
Spoiler
Toxic Rain 6Link(PC)
"
DPS relies on Mirage Archer for much of its work.
Move to install the maximum number of Mirage Archers (3) whenever possible.
AOE +40% is the number that contributes the most to DPS.
*+39% seems to be optimal, but I didn't notice much difference in my tests.
Make sure you get your AOE as close to +40% as possible.
However, DPS will decrease significantly if the AOE exceeds +40%.
Despair
"
When there is a strong enemy, Cast quickly and give Wither.
Manaforged Arrow
"
Supply [Frenzy Charge] and give maximum Wither quickly with [Blast Rain].
If the HIT Chance is not high, Wither will not be given to the maximum and DPS will be reduced, so be sure to get [+100 to Accuracy Rating per Green Socket Equipped Bow] in bow Mastery.
Duration Gem
"
Runegraft of the Warp] added in 3.26 is very powerful.
TR builds ensure a very large Inc Duration, but this Rune extends that time even further, giving you the benefit of a powerful buff for a longer period of time.
(approx x1.43)
Defence
Spoiler
This build has very complex layers of protection.
Since it is difficult to explain everything, we will briefly describe the various elements.
Hit Pool
"
Life(Upper 50%)+Low Life(Lower 50%)+Energy Shield = Maximum Hit Pool
Maintain this large HIT Pool with Life Flask/Immortal Call/Vaal Grace.
As for hardness, you can take Uber Uber Elder attacks without moving.
Then, as an insurance policy, you can expect Instant recovery with Flask Mastery.
For more information, please see the following video. The video is Legacy (3.17). Currently, Trigger Rate is less than Test Video.
Life & Es Sustain
"
Basically, the player withstands enemy attacks by recovering with Flasks.
Once every 3 seconds, you can gain enough Charge to use Life Flask, so if you do not use it at a pace exceeding that, you can recover practically indefinitely.
However, note that if you are not using the Flask, you are very helpless.
Take Physical,Elemental,Chaos Damage & Dot Damage
"
・Physical Damage
Doppelganger/Endurance charge/Immortal Call
It is very hard while the above buffs are activated and the Immortal Call reduction is surprising.
However, it is not that hard while Immortal Call is deactivated, so do not be impatient and wait a bit for the activation.
・Elemental Damage
Maximum Resistance 90%/Endurance Charge/Immortal Call/Soul of Lunaris
・Chaos Damage
Doppelganger/Soul of Shakari
[30% of Chaos Damage does not bypass Energy Shield]
Since Energy Shield does not exceed 30% of Life (including the effect of Petrified Blood), all resources can be used for Chaos Damage.
・Dot Damage
Dot Damage resistance is very high as long as Life Flask lasts.
・Stun
Flask & Energy Shield Almost never occurs.(avoid 90% + 50%)
・Elemental Ailments
Chill,Freeze/Shock = Immune
Ignite is removed by Master Alchemist.
・Bleed, Corrupted Blood
Removed by Life Flask's Suffix MOD.
・Poison
[Soul of Shakari] for good measure. This is not a problem.
・Curse
use Ballance of Terror. Immune Curse.
If 2MOD BoT is difficult to obtain.
Suffix MOD [% reduced Effect of Curses on you during Effect] in Flask, you can countermeasure.
Petrified Blood
"
This GEM is
Life cannot be recovered more than 50% (Life Flask can be recovered)
A portion of HIT is taken as DOT damage (Dot Damage specific to Petrified Blood).
Maximum Life is reduced, making it vulnerable to DOT.
This is a very difficult skill to handle.
However, if used properly, this single GEM can greatly increase your HIT Pool.
In this build, you almost never suffer the disadvantages of Petrified Blood because Life Flask is always available.
The Life Flask recovers life in areas that cannot be used and can be used as a Hit Pool.
In addition, the high recovery power can be used as a countermeasure against Dot Damage.
Also, Petrified Blood's inherent DOT damage from HIT is very small.
It can be offset by Doppelganger's 10% Regen or the Life Recoupe mod.
Bandit & Pantheon
Spoiler
All Kill +1P /Lunaris & Shakari
POB
Spoiler
https://pobb.in/S2mLagYoGhwU Note that the calculation of [Mirage Archer] in the POB is buggy.
Change Log
Spoiler
3.17 - Creating a Build
3.18 - Slightly changed POB
"
・Optimized mana cost. Eliminated [Replica Conqueror's Efficiency] from Uber gear.
3.19 - Nerf and change
"
Some nerfs.The three most impactful changes are as follows. ・Extra ES mod of gravicius has been removed. The new Phy to Ele mod will be adopted instead, but the overall HIT Pool will be reduced by 1000.
・The [6% reduced Elemental Damage taken] has been removed from [Nature's Boon].
・Flask's [Gain # Charges when you are Hit by an Enemy] has been nerfed. As a result, [Master Surgeon]'s [Recover 6% of Life when you use a Flask] now has a recovery timing of 4 HITs instead of 2 HITs.
3.20 - Update POB of build
"
The tree and equipment have been optimized and updated for a better combination.
It is time to say goodbye to Maloney's Mechanism.
3.21 - Slight change
"
I have optimized the build for 3.21.
We made a lot of changes, but the final stats are largely the same.
3.26 - Major Changes
"
I've been slacking on the updates! Ha ha ha!
The build form has changed a lot. The core gimmick itself has not been changed and the build works fine.
Last edited by BIMZERO#6458 on Jul 18, 2025, 8:47:42 AM
Very impressive. Would there be any downsides to using these defenses but with spectral helix, and nightblade support with a shield? Or with poisonous concoction?
How do you like toxic rain with the second 6 link ballista ?
It is not clear if it can be assembled with other builds.
There is a lot of essential gear to acquire this defense mechanism.
I don't expect much DPS from Totem, but giving Wither is powerful, and linking Culling Strike can be very useful in End Game boss fights.
However, from a FPS standpoint, it is insanely heavy.
As with this build, sustained recovery cannot be applied to the ES.
Because the damage value received by Life and ES is not equal.
We need to find another way to use it.
Had my ass handed to me while playing COC vs the new 'Uber' bosses, would the endgame variant of this be enough to beat them even with terrible player skill?