


[2.1 SC] DDD Firestorm (RF, 100% chaos, Uber down!)
|
Update: This build is probably more efficient as a Shadow for two extra points at end game, see my updated tree for details.
This is a Firestorm build designed solely for the purpose of farming and destroying Atziri and Uber Atziri. Originally intended as a budget sort of setup, I did manage to purchase a 6 link towards the purpose of killing Uber Atziri--it is inconclusive as to whether or not this can be done with a five link (Uber Atziri herself is reachable with a 5 link, video links below). This build is a work in progress, many alterations can and should be made to it. I call this the double-double dip firestorm, because of interactions with skill duration, firestorm and the unique dagger Consuming Dark. In conjunction with Infernal mantle, 100% of fire damage is converted into chaos damage, allowing us to focus solely on the new Chaos damage nodes on the tree, providing us with the benefit of double dipping our damage with Consuming Dark's poisoning trait. In addition to this, we double dip a second time using skill duration nodes, extending the duration of poison on targets hit, and simultaneously extending the duration of Firestorm. Many situations in the Atziri zone have bosses and enemies that will be stationary for extended periods of time, or they will be required to move to us--this allows us to stack many instances of firestorm in a single area. We further take advantage of this through the use of decoy totems to funnel enemies into a fiery wave of death. Anything that sneaks by (mostly snakes) we can avoid with whirling blades or use Conversion Trap to turn them into temporary allies, allowing us to thin the herd before dealing with them. Deathless boss rush, Uber Atziri (level 91)
Spoiler
First uber kill: Earlier runs: First and second uber attempts (5 link) Third attempt, reached Atziri with one extra portal (5 link): Day 3 Atziri kill (level 73) with a Walmart brand, Act 2 normal offhand sceptre and a four link chest: Uber Atziri strategy:
Spoiler
Vaals
Against Vaals, we use Remote Mine firestorms to further spike our damage, as well as a Wither totem to increase chaos damage on one of the Vaals. Righteous Fire and Vaal Lightning Trap are used to further multiply our damage. Conversion Traps linked with multitrap are placed around us to give us a breather against the incoming spawns, allowing us to cast with relative safety at the start of the fight. Even with a four link and crap gear, it's possible to deal significant damage against regular vaals with this strategy before they even have a chance to attack. In Uber Atziri with a 6 link, I was able to kill off one of the Vaals before it dropped back down, the other escaping with a sliver of health before resurfacing and dying instantly to more firestorms. Trio Against the trio, we can focus a large number of firestorms on the ranged one first, in conjunction with Vaal Lightning Trap and our Wither totem. We start the fight with righteous fire to deal more damage, but it's far safer to take our time here and keep it off. The cycloner's attacks are the weakest here, and with 6 charges on our staunching mana flask we have no troubles removing the bleeding effects from his attacks. Keeping our distance with whirling blades, we can sneak in single casts of firestorm between projectiles being shot at us. We use spell totem linked with Warlord's Mark to ensure our health and mana stay up as the adds spawn, and we try to focus on them exclusively, taking our time and letting the other two bosses run into the flames. Chaos resistance is a godsend here against the cycloner, as his trails of poison deal tremendous damage if we don't have high chaos resistance. We leave the cycloner last because his damage is the easiest of the three to mitigate. Atziri UPDATE: It's come to my attention that it is possible to shock Atziri's split phase forms, use a Vaal Lightning Trap on each of these phases. I don't recommend the remote mines during Atziri any more unless you have substantial breathing room during her heal phase (We also use the whole bar anyway with Vaal Lightning Trap now, so it could get difficult to maintain it all). Atziri is the trickiest part of the run with this setup given her high spear damage. It's important to pay attention to her health intervals for when her split phase is about to begin, as that gives us time to prepare our attack. Make sure Righteous Fire is on, spam firestorms in one of the zones that she spawns in (we do not have to worry about reflect, so any of the four is fine), and drop the Wither totem the moment she is about to attack. With a 6 link and my current setup, this damage is sufficient to take out her split phase, we just need to dodge her spears until the fire does its job. Decoy totem helps give us time to deal with the add phase, but our damage is so significant against her that we don't need to focus as hard on stopping her from healing. Try to set up the Warlord's Mark totem before she loses invulnerability (we won't be curse reflected by this), set down remote mines, put down more firestorms and plant the wither totem down to slow her movement and add more damage to her. You can set the wither totem earlier to add more wither stacks on her during the add phase, but it typically isn't necessary. (Bandits, just kill them all on all difficulties. The points are more important to us since we want to use jewels late game) (UPDATE) Late game (90+) tree:
Spoiler
It appears it may be more efficient to start this character as a Shadow, circling around the Scion evasion wheel and skipping Hired Killer. The reason for this is because the life nodes at the back end of Maurader would be available for us for another jewel slot, and at vastly higher levels, we could nab one last regen cluster along with the Duelist's starting point, and avoid the Born to Fight passive by branching between Maurader and Duelist. To branch this far in the tree we need to have several jewels to give us additional damage. To maximize the double dip functionality, shoot for jewels with Increased Chaos Damage and Increased Damage (To my knowledge Increased Damage will increase the dot damage, it will increase the damage of other dots such as Fire Trap's dot damage, so it should apply here as well). These jewels will all be extremely expensive, so only choose these as late game optimizations. These are my jewels (these add 2000 to my total hit damage after Righteous Fire is activated): https://www.pathofexile.com/passive-skill-tree/AAAAAwAAA-4EswYOCfYLYQxfDc0PqxQgFr8YVhkuHKcczh2-IuIkiyaVJ-0qTStQM4c1kjrhPC09_D8nQYdDyEfiSRNKyE3jUEdRTFOlVIJVS1cNWGNZbVugXz9fmF-wYeJoZWh0aPJqjG6qbzt2gngNeWh7w3wOfVuCB4LHg1-DzITFieCKr5ARkx-UoJu1ogCi2aPvpDmmV6dVqW6sR62Nr2yvp7DYtNG1SLXytz7AGsBmwQTDOsRYxPbGrsgMyBTKSs8yz37SIdR82E3Yvdlh2mLmWO8O8B_yQfJF85v1b_ZI-ej-Cv5U_o8=?accountName=Lexxure&characterName=Lexxure__Thorne Intelligence becomes even more important on gear because we lose many nodes for this by respec'ing out of most of the Shadow tree. The necessity of the start of the Templar tree is unconfirmed: we may be better off removing those four nodes and Retribution in favor of jumping straight to the Duelist start point, grabbing Bravery and later Mana Flows. We stick to Fangs of the Viper because it's 4 points for 20% chaos damage and 47% dot damage. A jewel could give us 13% chaos and 10% all damage, in conjunction with up to 16% fire and 12% area damage (for three points, going south from the Scion evasion wheel for that jewel socket), but it doesn't feel necessary at this point. Our damage feels mostly satisfactory at this stage but defenses are very poor. We could also choose to invest in a ton of extra life with the spare points available, but I'm actually contemplating dropping the infernal mantle for a Lightning Coil--I may test against Uber with a Tabula Rasa to see if it is still plausible without that chest piece. This would also free us up to take on an additional aura like Arctic Armour or Purity of Lightning to further spike our defenses. My current damage: http://steamcommunity.com/sharedfiles/filedetails/?id=594072013 Old tree and gearing:
Spoiler
We focus the bulk of the tree on getting a decent chunk of life, branching into Maurader and Templar for added life and life regeneration to alleviate the damage from Righteous Fire. With our energy shield, it is mostly impossible to fully mitigate the fire damage even with level 20 Purity of Fire and Rise of the Phoenix. We need the mana flask nodes under Scion to deal with the high mana costs of Firestorm (with Ample +18 charge flasks we can have 3 uses of our Ruby flask before refilling as well). We grab a few notables in Shadow and Templar for spell and elemental damage, and we will eventually grab additional jewel sockets for added damage, focusing on Chaos/Fire/Area/Dot damage.
The rest of the tree focuses on the Shadow tree and the dot and chaos damage it provides. It may be possible to respec out of most of this section, focusing solely on the life and first 5 chaos nodes in the start of Shadow's tree, and get the rest of our chaos damage from jewels. If this option is taken, it's entirely plausible for us to go grab Fatal Toxins and Acrobatics/Phase Acrobatics for added defense (This would also make running RF much easier due to the reduced energy shield). Hired Killer is probably inefficient near the Shadow tree, and even as Scion it may be better to use the evasion wheel to maneuver to other parts of the tree rather than all three of the starting points. These points saved could be better spent in more health in Maurader, or the regen cluster between Maurader and Templar. Level 89 Tree: For gear, we only need to hit the cap on elemental resistances, grabbing as much chaos resistance on gear as possible, while still hitting max life rolls on any other piece of gear. Any other stats like cast speed or fire damage are an added bonus but they are entirely unnecessary. We use Rise of the Phoenix in conjunction with a "lightning damage taken as fire damage" talisman to help mitigate a large portion of lightning damage. While we cannot facetank double vaals, this does make it a little easier to withstand a few more hits. Having our topaz flask set to remove chill and freeze is important in case we are struck by cold damage, as the chill and stunlock is almost certain death without it. I have two jewels at present--both increase chaos damage, fire damage and dot damage. Gear:
Spoiler
The gloves are the only self found piece of gear here. My boots were 2ex, and they were only purchased for the chaos resistance--a self found pair of boots I had previously had roughly the same stats, minus the chaos resistance. The rings, belt, amulet and helmet all costed around 1-5c I think, and the jewels were 15c each. Originally it took 300 fusers to 5 link my first Infernal Mantle (originally bought early at 9c), and I managed to snag the dagger early for 23c. The shield was 5c. Overall the build cost me roughly 15ex in gear (including the cost of the previous 5 link), I purchased my 6 link for 10 exalts. Tooltip/defenses:
Spoiler
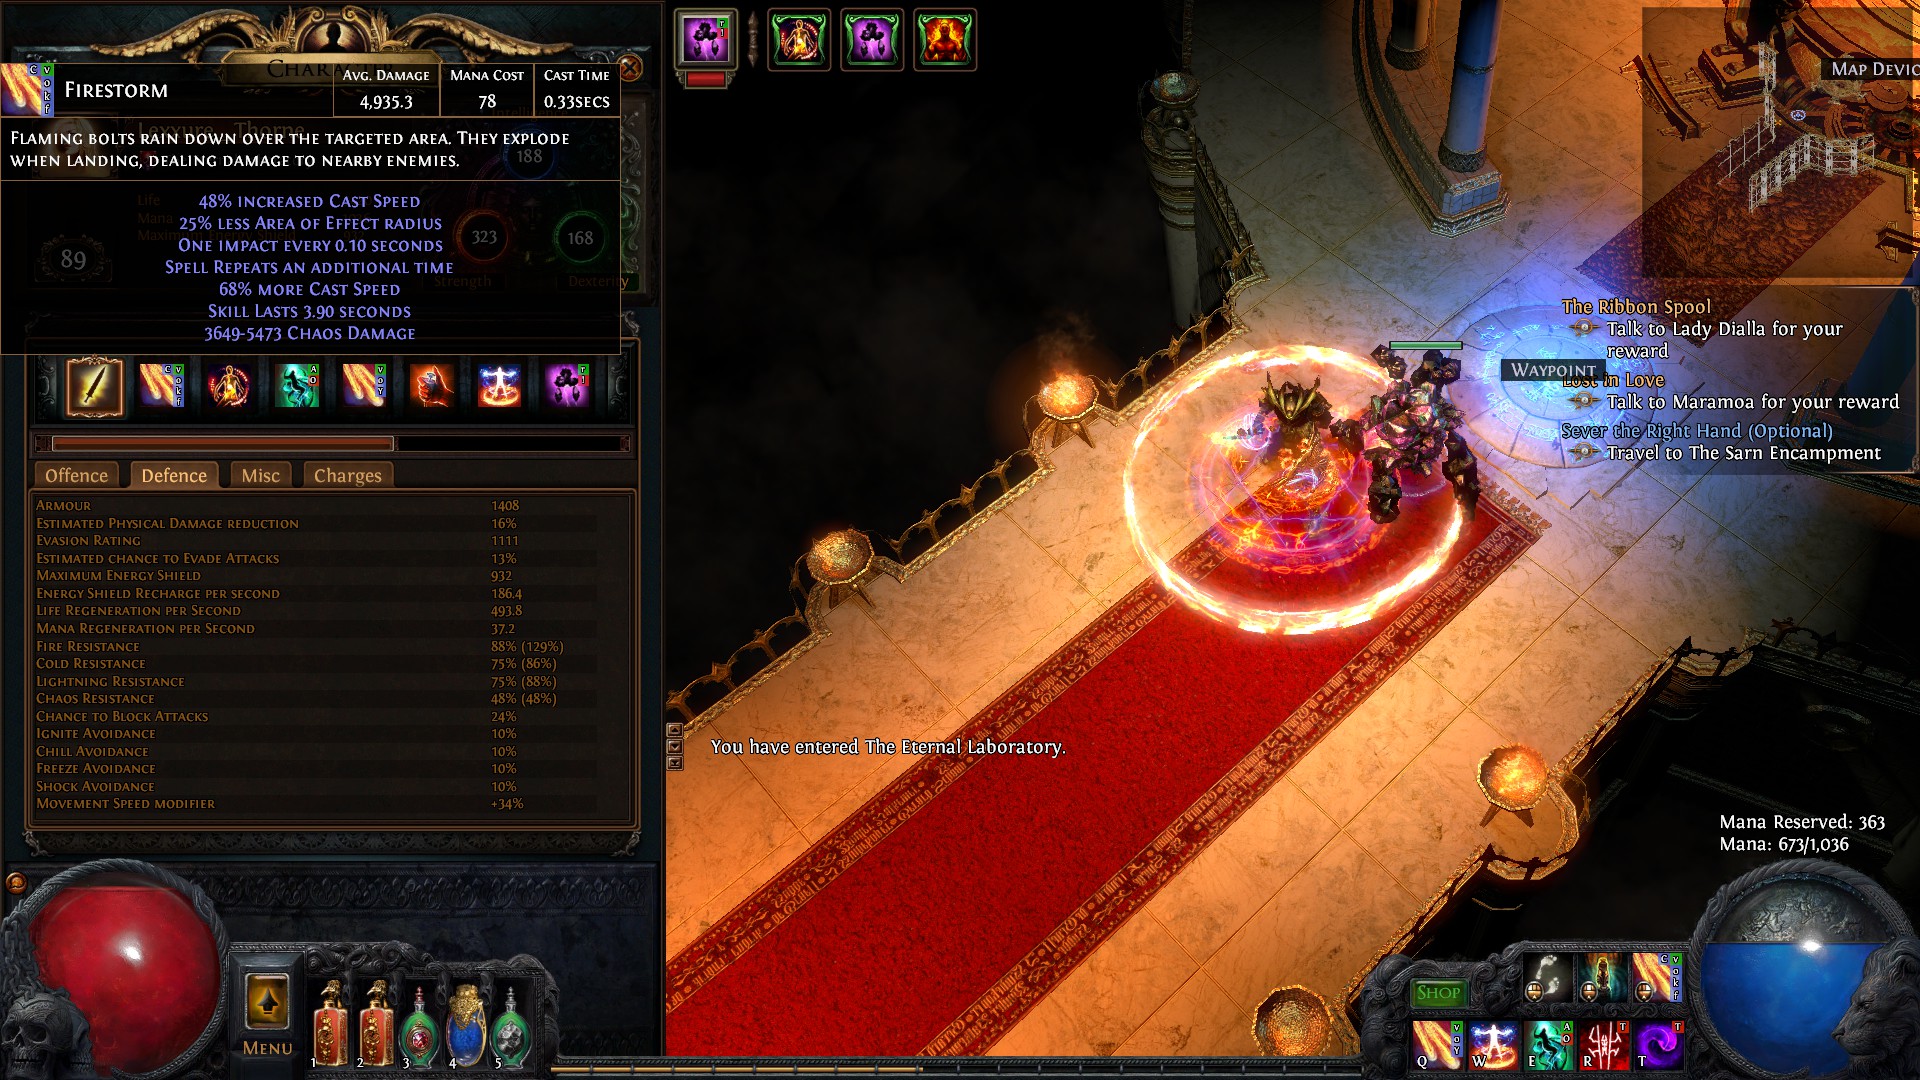 (Also, the remote mine damage is roughly the same, just without the double casting) Gems:
Spoiler
6L Firestorm, Concentrated Effect, Spell Echo, Void Manipulation, Faster Casting, Controlled Destruction 4L Firestorm, Remote Mine, Concentrated Effect, Void Manipulation 3L Whirling Blades, Fortify, Faster Attacks 3L (put on Consuming Dark for the +1 fire bonus) Purity of Fire, Righteous Fire, Vaal Lightning Trap 4L Wither, Spell Totem, Warlord's Mark, Decoy Totem 4L Cast When Damage Taken, Immortal Call, Conversion Trap, Multiple Traps Multiple traps and conversion trap is swapped for Chaos Golem for Atziri EDIT: several runs today, one botched run, the rest successful. 3 vaal masks and Atziri's Disfavor has dropped! EDIT2: Deathless run uploading shortly, also this dropped. EDIT3: Updated gearing, the character may be better suited starting as a Shadow to save two points. Last edited by Lexxure#4610 on Jan 6, 2016, 12:19:27 AM Last bumped on Apr 10, 2016, 2:03:16 PM
|
|
|
Wow I'm impressed you manage to have a build that can support righteous fire, and still pick up the shadow nodes + skill duration along the way.
This is pretty awesome. Does RF spell dmg also stack for the poison damage? |
|
|
I doubt RF's spell damage multiplier affects the poison damage directly. It substantially increases the hit damage, which thereby increases the base dot damage, however I doubt it double dips.
I'm 100% sure Void Manipulation does double dip though, since it is chaos damage. Righteous Fire with this setup is manageable but we are not at equilibrium with the degen. Usually stuff dies fast enough to constantly spam pots, or we can use warlord's mark to help maintain it. |
|
|
Bandits? I assume Oak,Alira,passive
|
|
|
Kill all the bandits, sorry about that. We want the jewels for end game.
|
|
|
I understand what you mean now. I'll have to re spec my earlier bandit choices. Could you link the jewels you use?
|
|
|
Gratz on uber kill!
|
|
|
How do you get such high tooltip avg?
I am running a similar build, but I am going Staff+Kaoms. I have the Celestial judgement+Breath of fire and I'm running Firestorm lvl 18 on a 5L+2 staff with Anger and I have only 1.8K avg. I know that Void manipulation is big more, but Fire pen is similar modifier (gives even more dmg vs resistant mobs). Could you post your avg. without RF and Void manipulation for comparison? Last edited by dxmzmx#2253 on Jan 1, 2016, 11:57:14 AM
|
|
" I use jewels and have level 20 gems at this point. I respec'ed some points and I believe I'm around 5800 tooltip with RF running, 3700 without. Fire pen, unless I'm mistaken, will not be shown in the tooltip, because that's just penetrating resistances. I actually respec'ed out of the spell damage cluster in Scion, the elemental damage in Shadow, and have focused entirely on my jewels for damage and it still outputs crazy damage, still able to kill uber with the setup. Are you using controlled destruction and concentrated effect? The lack of two extra more multipliers would explain part of the reason for the damage decrease, and my infernal mantle puts my firestorm to level 21 right now (need to corrupt one to 21 to boost it to 22). I'll try to get a screenshot up a little later of my current tree and damage |
|
" http://images.akamai.steamusercontent.com/ugc/353896922047447535/FFC7DA75A1E5FB9FC31DD471AD5122942926855A/ (Also updated the tree section, and I added my jewels there as well) |
|


