


Pillar Of The Caged RABID GOD, Dual Totems WarChief Atziri, Uber Lab, and Uber Atziri Viable
|
Quick Introduction
This is my first submission ever and I want others to enjoy what I have made. I thought my build was extremely unique and checked the forums before posting to see if anyone came up with this idea. I saw similar ideas to my build but no one has actually done what I have done. The leveling of this build is the fastest I have ever made, I completed normal to merciless in under 10 hours playing time. I also completed Aztri, Lab, and the Pale Council all at level 72 with this build. I have not attempted Uber Aztri yet but completed everything else so far. _____________________________________________________________________________________________________ What makes this build unique?
Spoiler
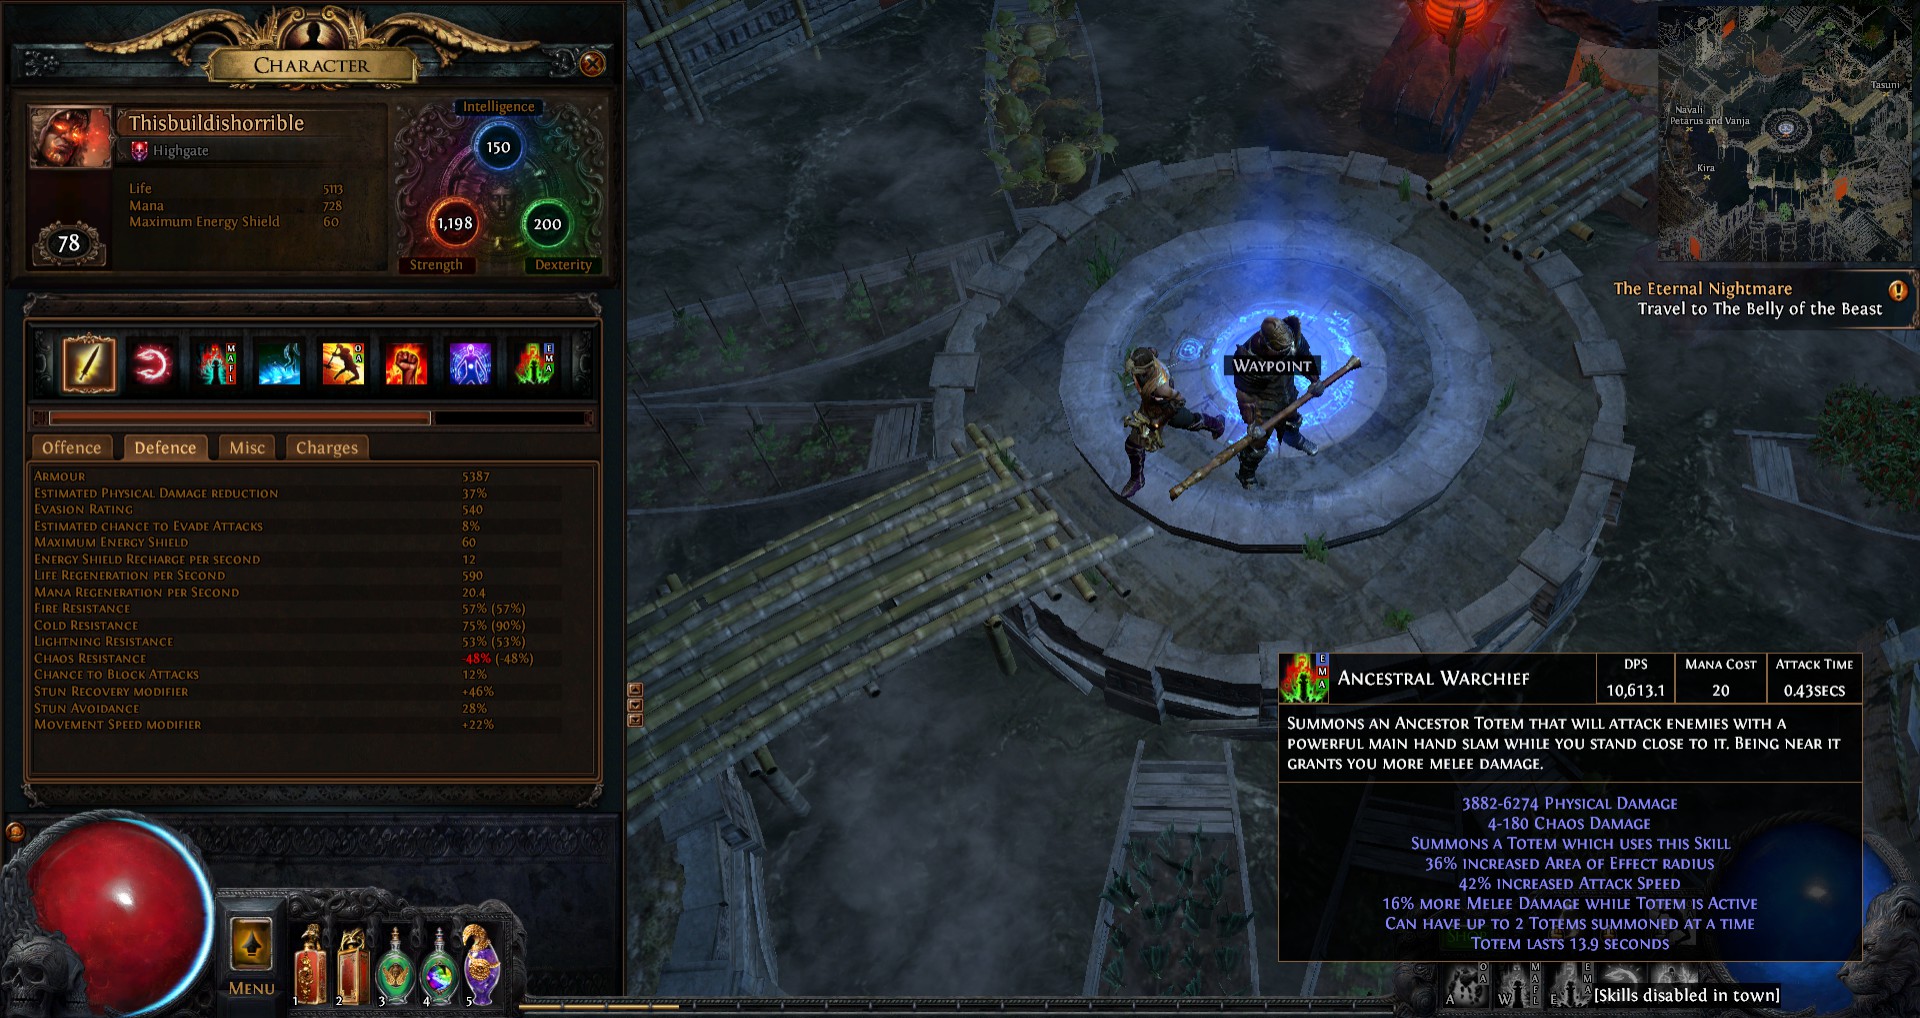
First The only weapon you will need is the almighty Pillar :) We will want to stack as much strength as safely as possible. Strength provides 16% increased physical weapon damage per 10 strength, but also provides 5 health and another 2% melee physical damage. Second Once you reach level 48, you will need to equip The effects of the ring will apply to your totems. We can maximize the damage using one totem to always apply the bleed affect, (Ancestral Warchief), while we use "Ancestral Protector" to deal the major damage to bosses with the blood lust gem equipped. At the same time both totems will buff one another, giving more attack speed and more melee damage. When clearing through mobs, having 2 Ancestral Warchief's summoned cuts through like butter. Third We want to include the Vulnerability curse to provide increased damage and a slight double dipping affect. Since we will always poison on hit and bleed on hit, the curse will increase those modifiers by a nice amount since the totems hit extremely hard already and will hit even harder since Vulnerability increases physical damage as well. Last We require This will provide a phenomenal amount of damage to our weapon. Since we will have a huge amount of strength this will multiply the weapon dps by a huge amount. Wearing this helmet does increase physical damage taken BUT the build utilizes a medium amount of armor to negate this. We also get 8% damage reduction from our totems from the ascendancy passive and another 10% less physical damage taken from using arctic armor. I also utilize leap slam with fortify that provides another 20% damage reduction. _____________________________________________________________________________________________________ Current Items And Gem Setup
Spoiler
My gear has imporoved a bit from me originally posting this a day ago, I made a 6 link while trying to get a 5 link. My gloves could be improved a bit and I still need to find a ring with some health on it.
If you don't have an Abyssus, you can use You won't have as much damage as an Abyssus but the extra 15% strength will help fill in that gap a bit. _____________________________________________________________________________________________________ Passive Skill Tree (Not Finished)
Spoiler
https://www.pathofexile.com/passive-skill-tree/AAAABAEDAADuAdwEswUtC2EMXxDME6UUIBUgFVAWCxeMGbQaOBo-HKci4iSdJvMnLylPKk0rtizpLYMuUzLRNZI6szwtPfxBh0VHR35H4krIUEdTpVhjWOVZ81orW69fP2EhYlpko2VNZlRmnmebaPJuqm87cg907XfjeWh7s311g1-DzITZhO-Fe4azjEaQVZRvogCj8qQ5pwipbq4-r2y1BLXytz65fr02vqfAGsBmwQTDE8RYxgTGrsbYz2fTb9N-1abYvdrB3Q3kIuRR6-7sOO8O73rwH_Iv9kj2o_iT-ej-Cv66?accountName=ZACHWILDCAT&characterName=Thisbuildishorrible
_____________________________________________________________________________________________________ Pro's and Con's of my build
Spoiler
Pro's
-Quick Clearing Speed -Bosses Are Super Easy -Totems Have A 20% Chance To Taunt On Hit, Allowing Us To Stand Back And Be Safe. -Monsters Have A Chance To Flee While Using Void Heart Increasing The Bleed Damage And To Protect From Being Swarmed. -12% Life Regen (Another 2.5% Can Be Obtained), Allowing Fast Life Recovery, And Reducing The Need For Using Life Flasks Constantly. -38% Less Physical Damage Taken And 28% Overall Less Damage Taken Provided (Not Including 40%-50% Physical Damage Reduction From Armor) . -Naturally High Life Build Due To The Amount Of Strength We Collect, And Also The Amount Of Increased % Life Nodes. At Level 82 We Are at 182% Increased Maximum Life, That's Nothing To Laugh At. Con's -Extremely Gear Based, Can Get Expensive If Your Not Lucky With Getting The Prophecy Required To Upgrade To Void Heart. Also I Got Lucky Having Abyssus Drop For Me While Mapping With Another Character, This Item Is Very Pricey Too. -Poor Elemental Resistances, Can Be Hard To Find The Right Gear With High Elemental Resistances Since Were Using So Many Uniques. That's Why I'm Using A Bismuth Flask For Now. This Also forces Us To Waste Passive Points On A Few Nodes That Could Be Better Spent Elsewhere. -Not Super Tanky, Even Though We Do Have Alot Of Damage Reduction. Abyssus Still Makes Us Less Tanky To Physical Damage, And Physical Damage Can Still Become A Problem. _____________________________________________________________________________________________________ Leveling Items
Spoiler
None Of The Items Are Required But Astraments Would Greatly Help You While Leveling.
_____________________________________________________________________________________________________ _____________________________________________________________________________________________________ Videos Of Build
Spoiler
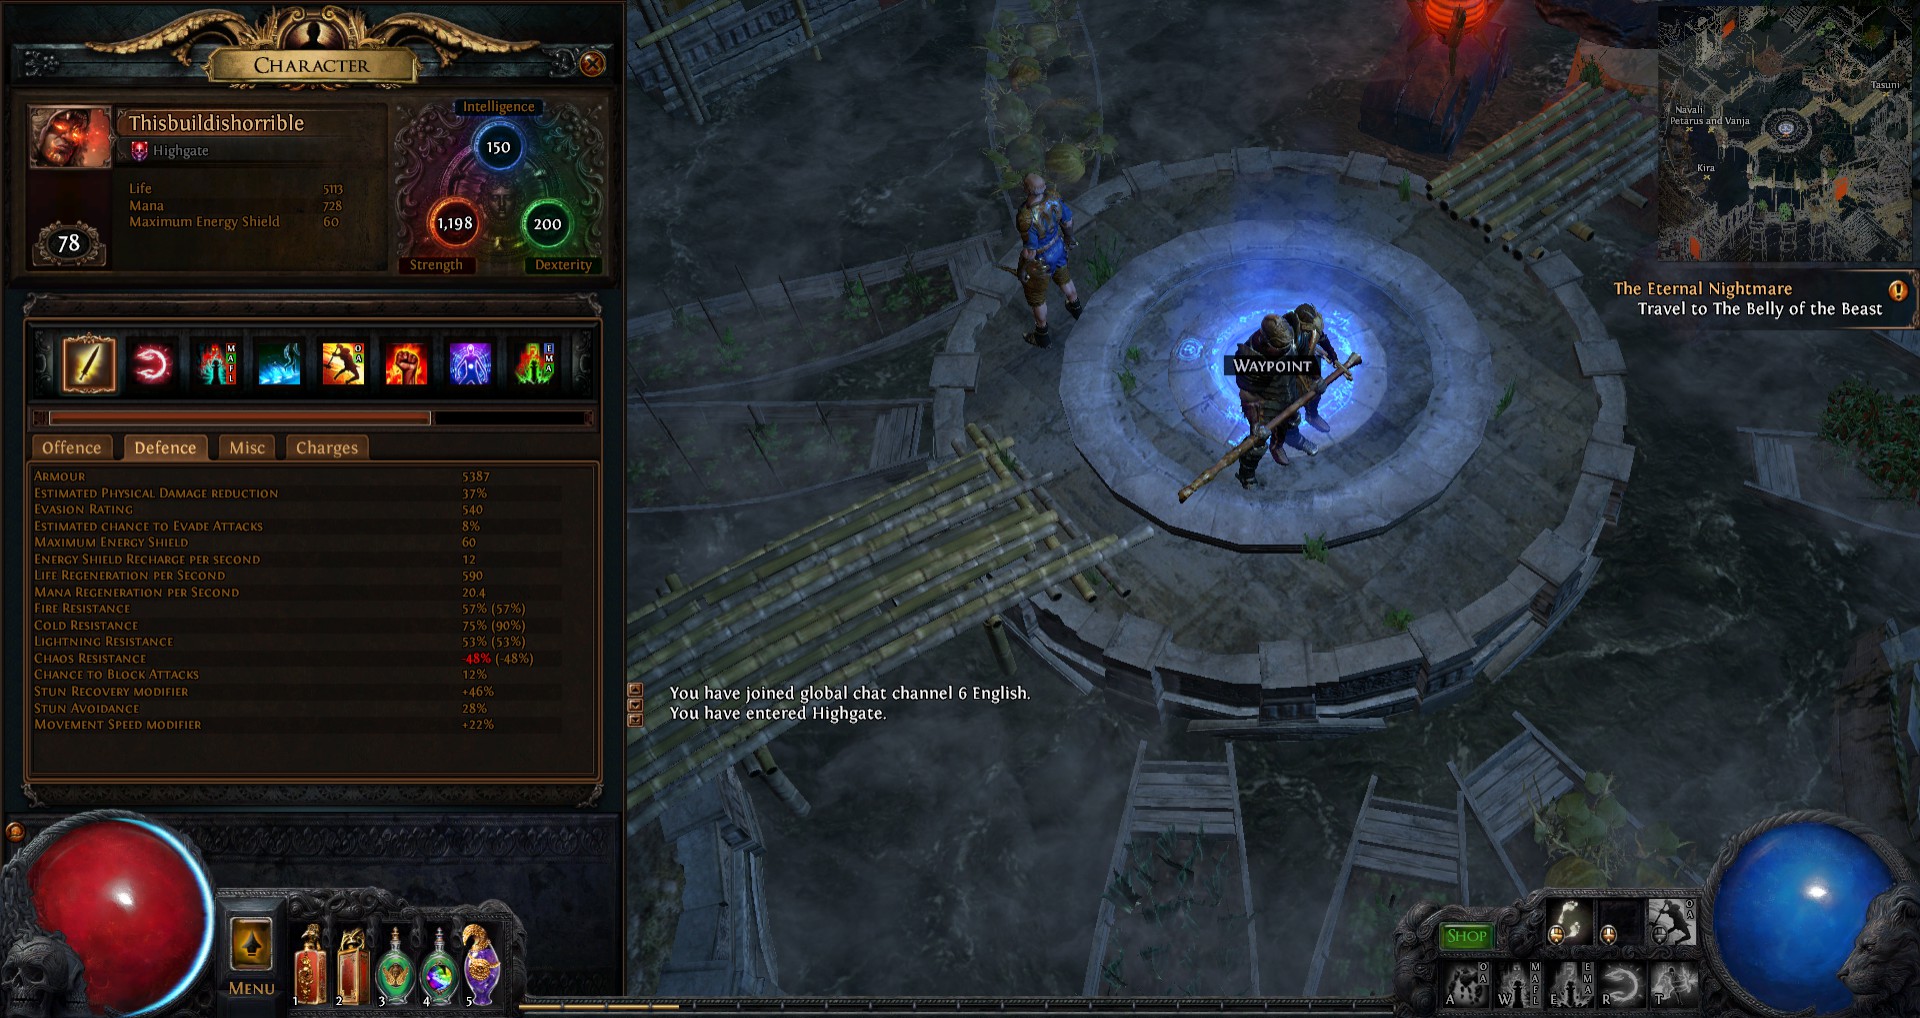
_____________________________________________________________________________________________________ Current Stat's Of Build Sorry, Not Sure How To Get Photos To Appear Bigger. To See The Pictures Properly, Just Left Click And Select Open Image In New Tab. Sorry!!
Spoiler
Stats Before Buffs
   _____________________________________________________________________________________________________ Stats With Buffs, No Flasks Used. 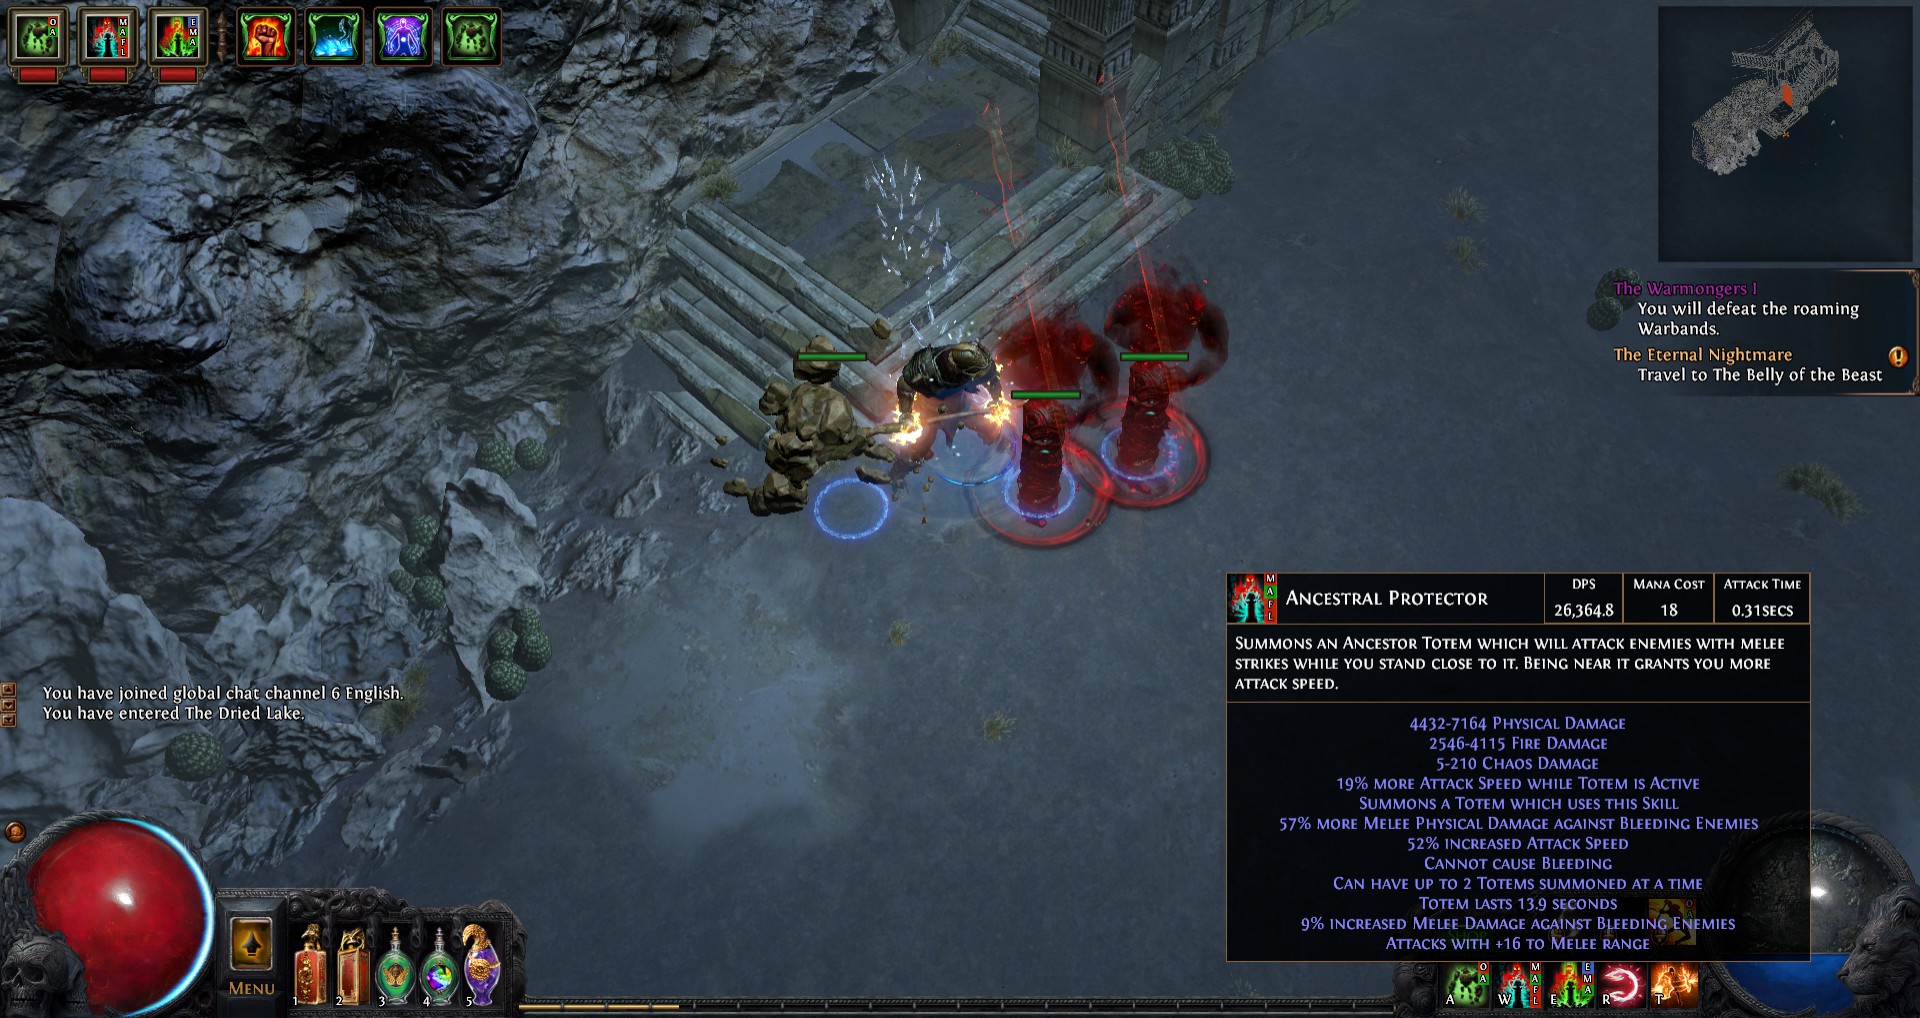 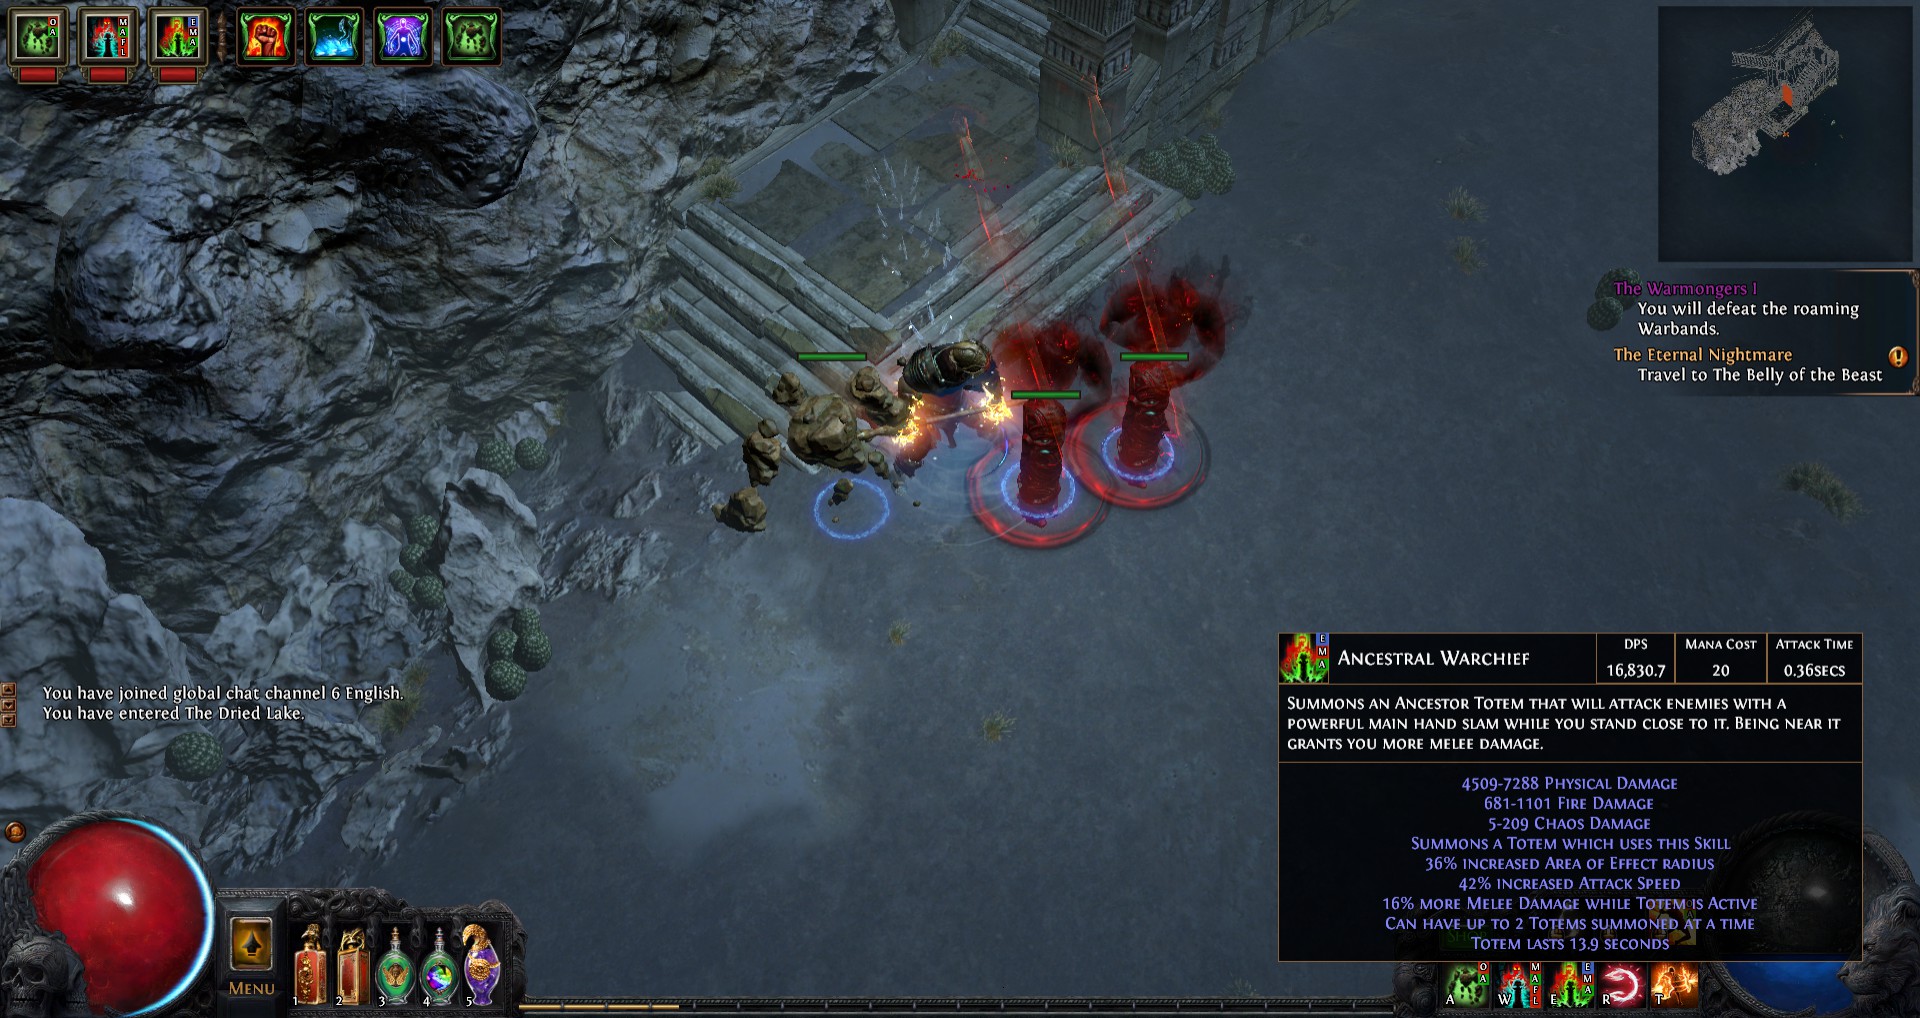 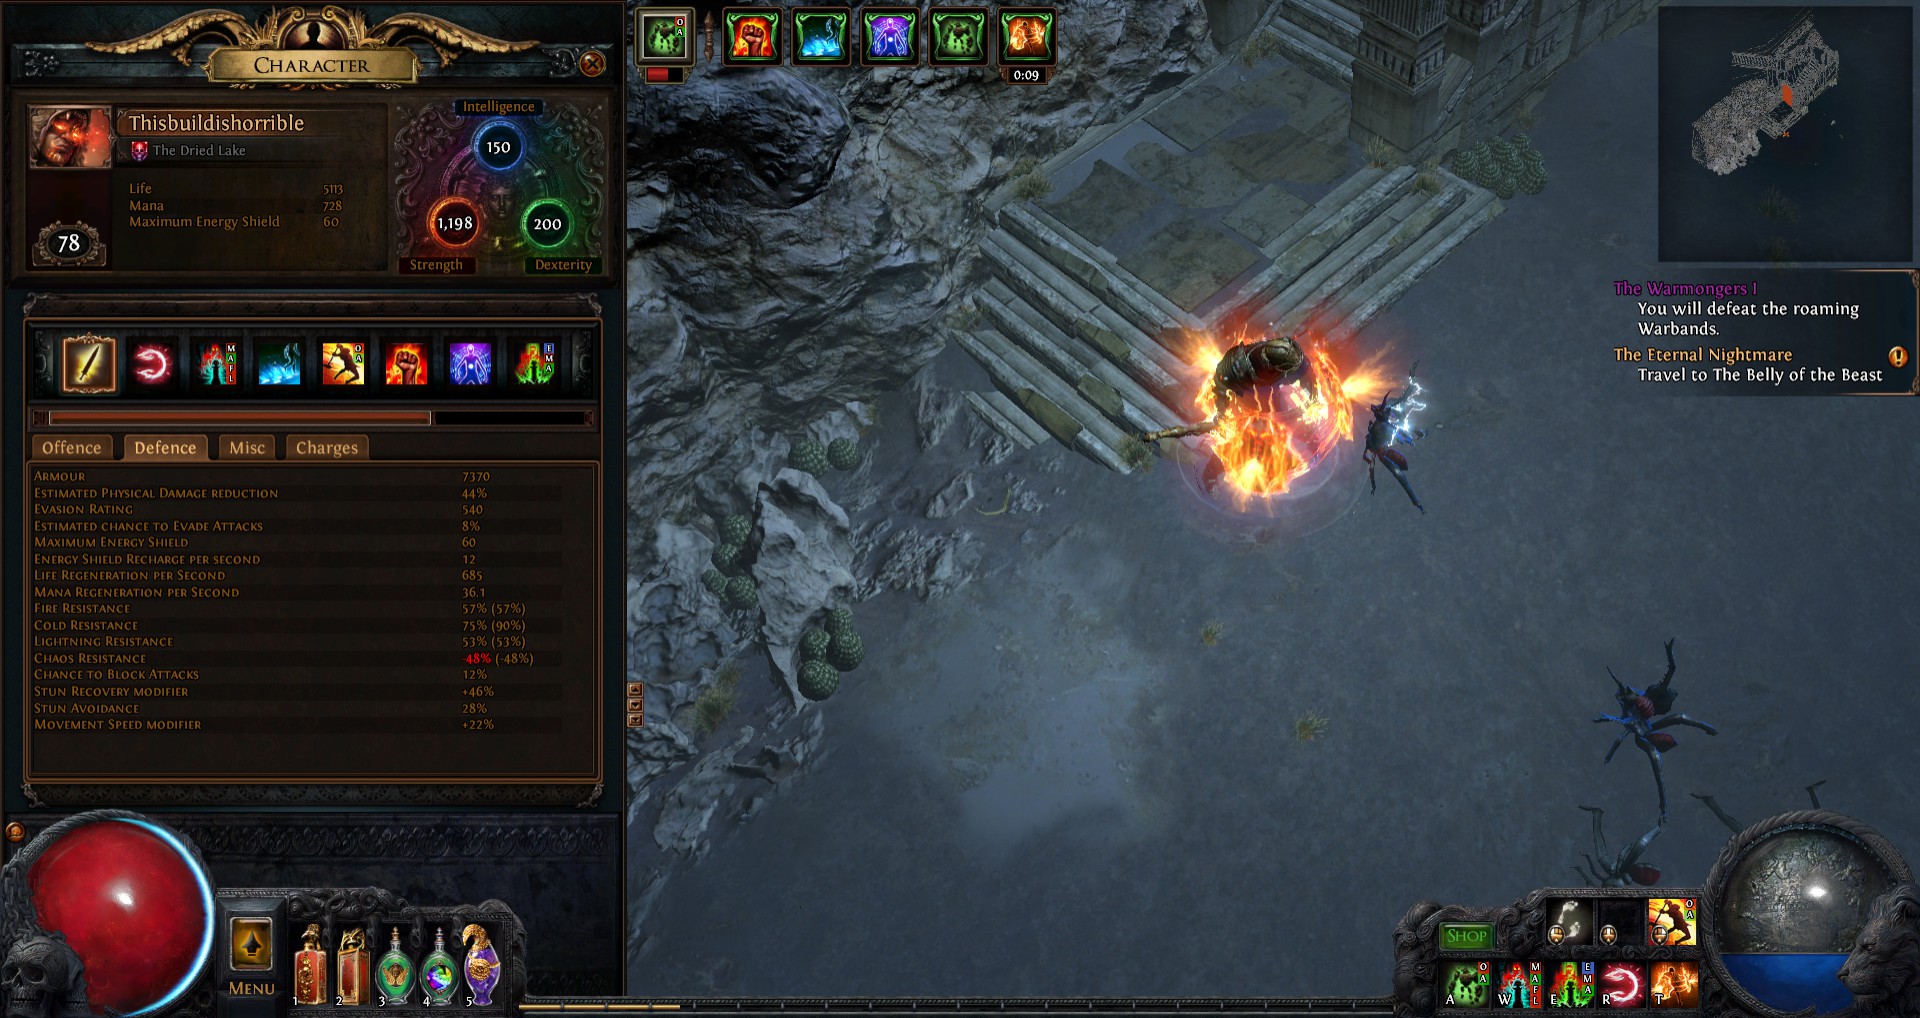 _____________________________________________________________________________________________________ Conclusion And Things Considered
Spoiler
1. Warchief is now 5 linked and I don't plan on getting a 6 link for it but more damage could be possible of course with a 6 link.
2. Dps Tooltip doesn't account for the bleed damage or poison damage. The tooltip also doesn't factor in the additional damage provided by the bloodlust gem or the extra damage from the vulnerability curse. 3. I've Considered adding immortal call with cast when damage taken with an increased duration gem with a enduring cry. The 3 extra endurance charges can provide additional elemental resistances and some physical damage reduction while also extending the time of immortal call slightly. Rallying cry would also provide extra life regen when necessary.[/u] (this has not been accomplished) 4. If I could add more armor to the build 300-600 I would be over 50% physical damage reduction without needing molten shell. 5. If i'm able to over cap my resistances, I can trade out the Bismuth Flask for a Granite Flask or Balsalt Flask, which will help us yet again become tankier. 6. You could get rid of arctic armor and clarity and get a vitality aura instead. 7. I haven't obtained any useful enchants from the lab yet but I can still obtain 2% increased life regen for my boots, and a more useful enchant for my gloves most likely reflection is the best choice. My helmet enchant is a wild card, the less mana reserve for arctic armor could work or the increase to the buff of arctic armor. I could also get a buff to the damage of either totem, any of the choices would help. I may have missed a few things to explain or show, again this is my first post but I'm very proud of what I have accomplished with this. I was inspired to try something like this during Perandus league because someone told me the staff I had was utterly useless. I plan to start streaming my games soon, when I start streaming and also get to level 85 (the level I had originally planned the build out for) I will record some twinned T15s, Uber Lab, and Uber Aztri to show it off more. I hope people will enjoy my build and any advice is appreciated, thanks for taking the time to read through everything! Take Care! Last edited by ZACHWILDCAT on Jul 7, 2016, 4:33:29 PM Last bumped on Jul 7, 2016, 4:34:46 PM
|

|
|
I was thinking about a similar build the other day, glad to see someone doing it :) Don't you think Hinekora is better than Tukohama? Arohongui might be better than Tawhoa though.
builds: https://www.pathofexile.com/forum/view-thread/1663570/
|

|
" I think overall Tukohama is better but Hinekora is better for a more dps focused build. The route I went was more defensive focused and I still have to do uber to get Ngamahu which will provide some more damage. |
|
"Honestly, I think Hinekora's better defensively too. Getting 1% leech is really great for a totem build. I don't think Tukohama offers that much, personally. It makes totems tankier, but totems can just be resummoned anyway. Can't knock it 'til I've tried it, though; maybe it is alright. builds: https://www.pathofexile.com/forum/view-thread/1663570/
|
|
|
Updated the passive tree, also edited some things since I completed uber lab. I just need to obtain the map pieces to do uber aztri. If anyone can help me edit the photos to appear larger, that would be great! I will have videos up soon too!
|
|
|
this build is super awesome and OP. I personally have watched him play (I am his wife) this build and build it up from a single idea and make it great. I am a little jealous that it wasn't my idea lol. This build is easy to play and if you want to clear fast and easily then this is the build for you. Give it a try and see for yourself how awesome it is! try it and then come back and give some feedback on your opinion!
|

|
|
*Updated* Added two videos, one of Atziri and one of Uber Lab. I suck with the traps though lol, and I only got 2 keys, not sure what I did wrong to get 2 and not 3. Also includes Argus kill, will add Uber Atziri soon.
|
|

